+86-18018686956
 [email protected]
 Language
 русский
 Español
 عربى
عربى Tiếng Việt

Inquiry
+86-18018686956
[email protected]
Language
Every chemical drum that leaves a filling line carries two promises: the product inside is what the paperwork says it is, and the label on the outside will still prove it months or years later. When drums hold solvents, or when they are cleaned and handled in facilities where solvents are in daily use, that second promise becomes an engineering problem. A chemical drum label for solvent resistance has to survive splash contact, saturated vapors, gloved wipe-downs, and abrasion without losing adhesion, legibility, or its regulatory markings.
The stakes are not cosmetic. Under the Globally Harmonized System (GHS), a drum whose hazard pictogram has smeared away is effectively an unidentified hazardous container, and inspectors treat it exactly that way. Re-labeling in the field means labor, downtime, and re-verification of batch data, which is why experienced buyers settle the material question long before the first label is printed, and why label converters treat drum work as a specialty rather than a commodity.
In plants that handle solvents, a label rarely meets just one chemical. Four exposure families do most of the damage:
Ketones - acetone, MEK Aromatics - toluene, xylene Alcohols - IPA, ethanol Oils and cleaners
Solvents follow two paths into a label. The first is direct contact through the face, where liquid dissolves ink or softens the film itself. The second is more insidious: solvent wicks under the cut edges and works at the adhesive from behind, which is why so many failures begin at corners and die-cut edges rather than in the center of the label. Reuse and reconditioning cycles make it worse, because drums are often washed with solvent-based cleaners before re-filling, so even a product that is not itself a solvent can expose its label to aggressive chemistry.
A solvent-resistant drum label is not one tough layer. It is a system in which the facestock, adhesive, ink, and topcoat each survive long enough to protect the others.
No adhesive or laminate can rescue a facestock that dissolves on contact. Comparative industry evaluations consistently rank topcoated polyester (PET) film first against aromatic solvents such as xylene and toluene, ahead of vinyl and paper. PET is non-absorbent and dimensionally stable, so it neither swells nor curls, and a topcoat gives printing inks something to anchor to. The table below summarizes how common facestocks behave under solvent duty:
| Facestock | Aromatics | Ketones | Alcohols / oils | Outdoor life | Best fit |
|---|---|---|---|---|---|
| Topcoated PET film | Excellent | Excellent | Excellent | 2 to 5 years | GHS drums, long-term storage |
| PVC / vinyl film | Good | Poor (swells) | Good | 1 to 3 years | Oils and lubricants |
| Synthetic paper | Moderate | Moderate | Good | 6 to 18 months | Indoor, lighter duty |
| Coated paper | Poor | Poor | Poor | Indoor only | Dry short-term use |
Vinyl remains a sensible choice where drums carry oils and lubricants and the main risks are water and abrasion, but it should be kept away from ketone-heavy environments, where it absorbs solvent and loses shape. Where budgets rule out full film constructions, synthetic paper offers a tear-resistant, moisture-resistant compromise for milder indoor duty.
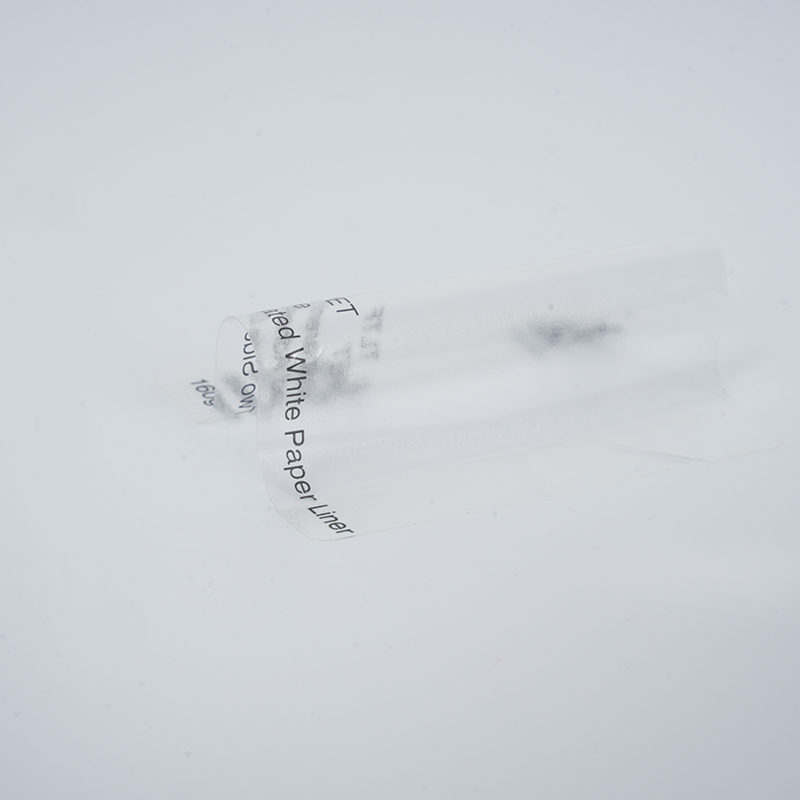
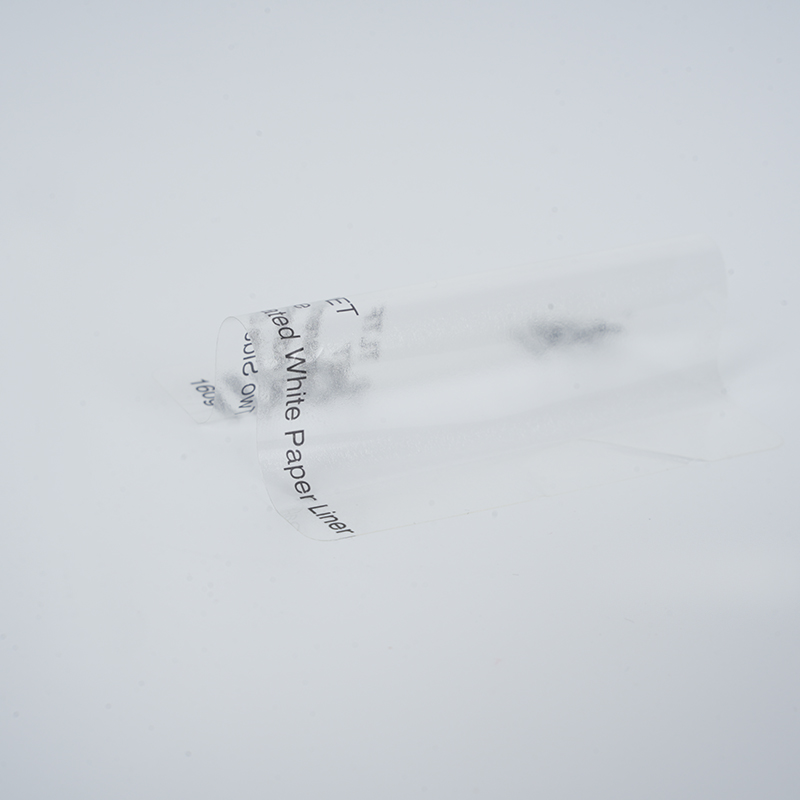 Transparent PET Self-Adhesive Label MaterialA clear, chemical-resistant PET facestock that shows underlying product graphics, relevant here when label constructions must balance clarity with exposure to solvents and moisture.View Product →
Because facestock chemistry interacts with adhesive, liner, and printing process, it is worth reviewing film constructions as a system rather than as isolated rolls; a practical overview is available in this guide to self-adhesive film materials.
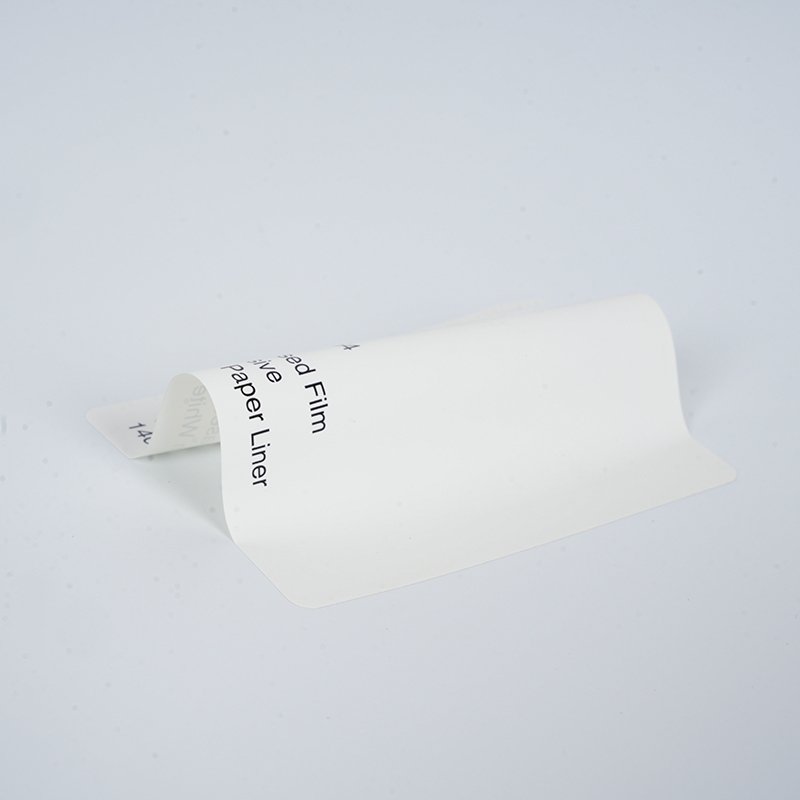 PP Synthetic Paper Label MaterialA tear-resistant, water-resistant, recyclable facestock that bridges paper and film, fitting the article's advice for milder duty where full film constructions exceed budget.View Product →
Cross-linked acrylic adhesives hold their tack and cohesion under solvent exposure far longer than hot-melt rubber-based systems, which is why they dominate durable chemical labeling. For HDPE plastic drums, the adhesive must also be engineered for low surface energy, typically with a high-tack acrylic and a heavier coat weight so it can wet out curved, slightly imperfect surfaces. The same formulation logic appears elsewhere in the industry: the reasoning behind why some engineered tapes are built specifically to resist solvents and chemicals applies directly to drum label adhesives.
Print is the most common weak point. Full resin thermal transfer ribbons, fused toner from laser-class digital presses, and solvent-resistant pigment inks all hold up where wax ribbons and basic water-based inks fail. A thin overlaminate or a chemically resistant varnish then acts as a sacrificial shield, taking the rubbing and wiping so the print underneath does not have to. Clean, precise die-cutting also matters, because a sealed edge removes the wicking paths that solvents exploit first.
A compliant GHS drum label must carry, at minimum:
For drums that travel by sea, buyers and regulators commonly specify constructions certified to BS 5609, the standard for printed pressure-sensitive labels used in a marine environment. Section One evaluates the blank label, meaning facestock and adhesive, including a three-month seawater immersion test. Section Two evaluates the printed article, and it is only valid for the certified combination of printing system and facestock, which is why ribbon selection is part of compliance rather than just a print-quality issue.
One caution: BS 5609 certifies seawater durability, not resistance to your solvent. Treat the certification as a floor for construction quality, then validate against the actual chemicals in your facility.
Steel drums bring their own surface chemistry: mill oil, rust dust, and old coatings all compete with the adhesive for contact. A high-tack acrylic applied with firm squeegee pressure handles most of it, but heavily rusted or powdery surfaces should be brushed and wiped before application. Label size also drives durability, since a larger face spreads peel stress over more adhesive area, which is one reason full-panel drum labels outlast small corner tags in the same environment.
HDPE plastic drums are harder. Their low surface energy resists wetting, and their curved shoulders force part of the label to bridge a bend. Labels for these drums need flexible film facestocks, adhesives designed for plastics, and margin planning: keep text and barcodes away from the shoulder so no critical element sits across a high-curvature zone.
Application conditions matter as much as materials:
Datasheets describe chemical families, not your plant. The only result that counts is how a label behaves on your drum, with your solvent, in your handling routine. A documented test loop also turns supplier conversations from opinions into data. A short bench program sorts candidates quickly:
When no standard construction passes, the practical route is a custom build: adjusting facestock, adhesive system, and topcoat around the exact solvent, dwell time, and drum substrate until the validation loop comes back clean. Customized self-adhesive materials exist precisely for this stage of specification.
Each visible failure points to a specific layer, which makes field inspection a diagnostic tool rather than a chore:
| Symptom | Most likely cause | Prevention |
|---|---|---|
| Edge lifting, then peel-off | Solvent wicking at cut edges | Solvent-resistant acrylic, clean die-cuts, sealed edges |
| Print smears onto gloves | Wax ribbon or weak ink | Resin thermal transfer, certified ribbon, overlaminate |
| Tunneling between layers | Weak internal bond under solvent | Heavier adhesive coat, verified lamination bond |
| Faded pictograms outdoors | UV plus chemical attack | Pigmented inks with a UV-stable topcoat |
Topcoated PET film is the default answer. It is non-absorbent and dimensionally stable, and comparative evaluations place it ahead of vinyl and paper against aromatic solvents. Pair it with a cross-linked acrylic adhesive and a resin-based print system for a complete construction.
Only for dry, indoor, short-term stock control where no solvent contact is expected. Paper absorbs solvents and disintegrates quickly, so it should never carry GHS hazard information on a drum that may see spills or vapors.
No. It certifies durability in seawater, including a three-month immersion, and applies to the certified combination of facestock and print system. It is a strong quality floor, but solvent-specific exposure still needs its own testing.
HDPE has low surface energy, so many adhesives never form a true bond, and curved shoulders add peel stress. Use a high-tack acrylic designed for plastics, a flexible film facestock, and a clean, degreased surface applied above 10 °C.
It helps with rubbing and splashes, but solvent can still wick under the laminate at the die-cut edges and attack the adhesive. Overlamination is one layer of a resistant construction, not a substitute for resistant facestock and adhesive.
A PET-based construction with acrylic adhesive and resin print typically serves two to five years or more outdoors, and longer indoors, provided surface preparation and application conditions were right. Define the expected service life from your exposure profile, then validate against it.
+86-18018686956
+86-021-69171221
No.1218, Huiping Road, Nanxiang Town, Jiading District, Shanghai, China
Copyright © Shanghai Baozhongbao Adhesive Products Co., Ltd. All Rights Reserved. Wholesale Self Adhesive Label Sticker Factory