+86-18018686956
 [email protected]
 Language
 русский
 Español
 عربى
عربى Tiếng Việt

Inquiry
+86-18018686956
[email protected]
Language
A transparent label on a clear bottle is meant to disappear. When it works, the consumer sees the liquid, the color and the package shape, and the printed graphics seem to float on the glass. When it fails, the edges lift after a week in a warm warehouse, the adhesive clouds under humid conditions, or the film cracks as it wraps around a shoulder. Most of these failures are not caused by the printing process. They come from a material choice that was made without considering the shape of the container, the product inside it, or the speed of the labeling line.
That is why buyers searching for clear PET self-adhesive label materials are usually not looking for a general definition. They are comparing options for a specific bottle, a specific filling environment and a specific budget. This guide is written for that decision stage. It explains how the material behaves, which specifications matter most, and how to test a sample before committing to a full production run.
The most useful way to choose a clear label is to start from the end use and work backward to thickness, adhesive and liner. Specifications chosen in the opposite direction often look fine on paper and fail on the line.
Before comparing materials, it helps to understand the problems that drive sourcing decisions. In most complaints about clear labels, one of four failure modes is present. Each has a clear cause and a practical fix.
| Problem | Typical cause | Practical fix |
|---|---|---|
| Edge lifting on curves | Film too stiff for the radius | Choose a thinner gauge and a softer adhesive |
| Clouding or haze | Moisture or adhesive migration | Use a permanent acrylic adhesive with a clear backing |
| Bubbles after application | Low tack or poor surface energy | Test the adhesive on the actual bottle material |
| Yellowing over time | UV exposure or heat storage | Specify UV resistant film and check storage conditions |
Edge lifting is the most common complaint on cylindrical and tapered containers. The label is pulled in two directions at once, and a film that is too stiff will try to return to its flat shape. Clouding is less visible at first but more damaging in the long run, because it reduces the clear appearance that justified choosing a transparent label in the first place.
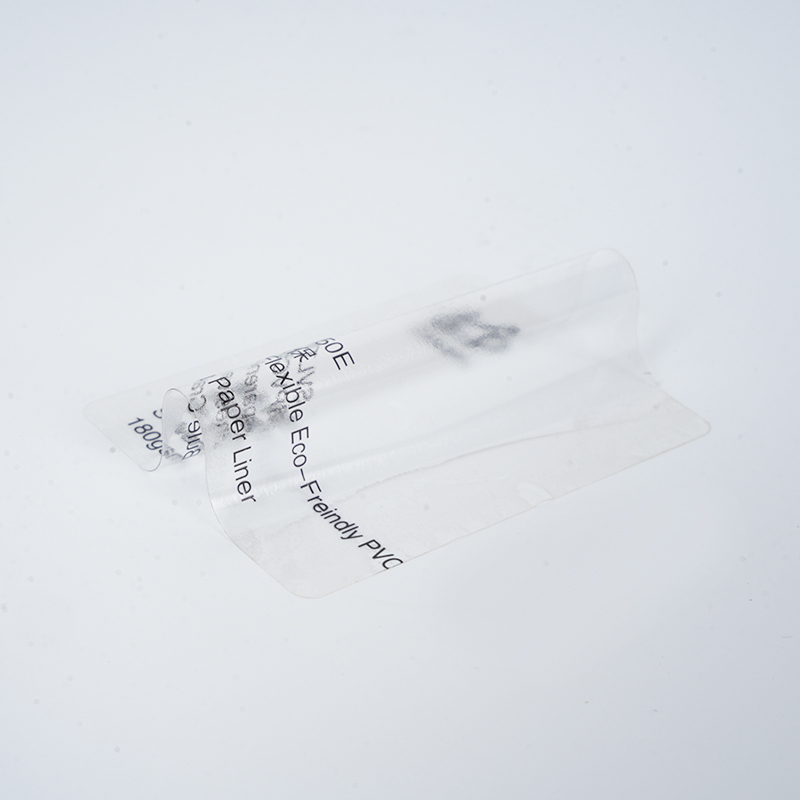
Polyethylene terephthalate film offers high light transmission and low haze, which is why it is widely used where a label should look like part of the container. The practical benefit is that the printed artwork, the bottle glass or plastic and the contents remain visible at the same time. When the film is paired with a clear or white-free adhesive, the label reads as a printed layer rather than a separate sticker.
Biaxially oriented PET has a strong balance between stiffness and flexibility. It resists tearing during high-speed application, yet it can conform to moderate curvature without cracking. The key limit is the radius of the container. Tight curves near the shoulder or base concentrate stress, so the film gauge and adhesive must be matched to the most demanding point on the bottle, not the flat central panel.
PET generally tolerates oils, many common surfactants and alcohol-based formulas better than untreated films. Resistance still depends on the adhesive, the ink system and the storage conditions, so a material that performs well with one product may need testing with another. Outdoor and industrial labels also benefit from UV-stabilized grades, which reduce yellowing and embrittlement over long exposure.
Specification decisions are interdependent. A thicker film with an aggressive adhesive may hold well on a flat panel but fail on a sculpted bottle. A thin film with a weak adhesive may conform beautifully and then peel in a cold warehouse. The table below summarizes common starting points used by converters when they quote a new project.
| Film gauge | Best use | Strength | Watch for |
|---|---|---|---|
| 25 micron | Strongly curved bottles, premium cosmetics | Excellent conformity | Limited tear resistance |
| 50 micron | General beverage and personal care | Balanced performance | Needs proper surface preparation |
| 75 micron and above | Industrial and chemical containers | High rigidity and durability | Lifting on tight radii |
Permanent acrylic adhesives are the usual choice when the label must stay clear and stable for the life of the product. They resist moisture and UV better than rubber-based systems, and they do not yellow as quickly. Removable adhesives suit promotional or seasonal labels that may need to be taken off without leaving residue. Low-temperature and high-temperature formulations are useful when the label passes through freezers, hot-fill lines or warm transport.
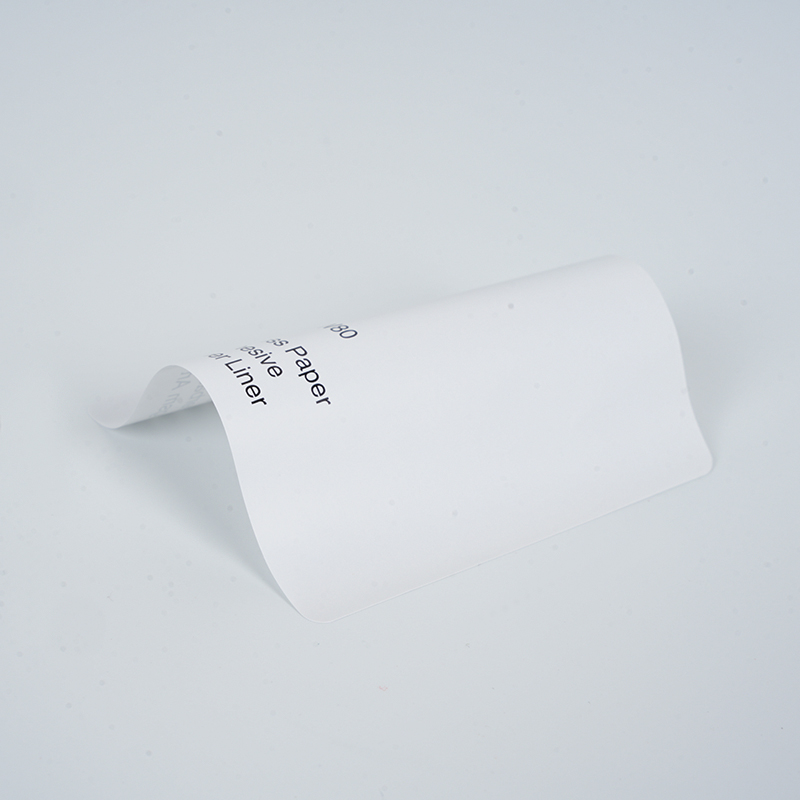
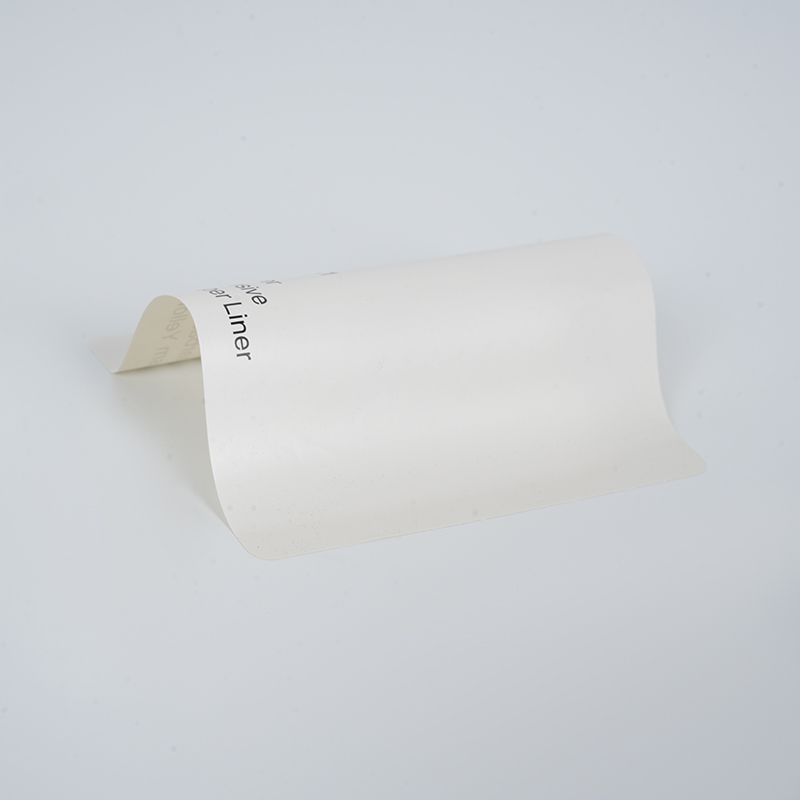
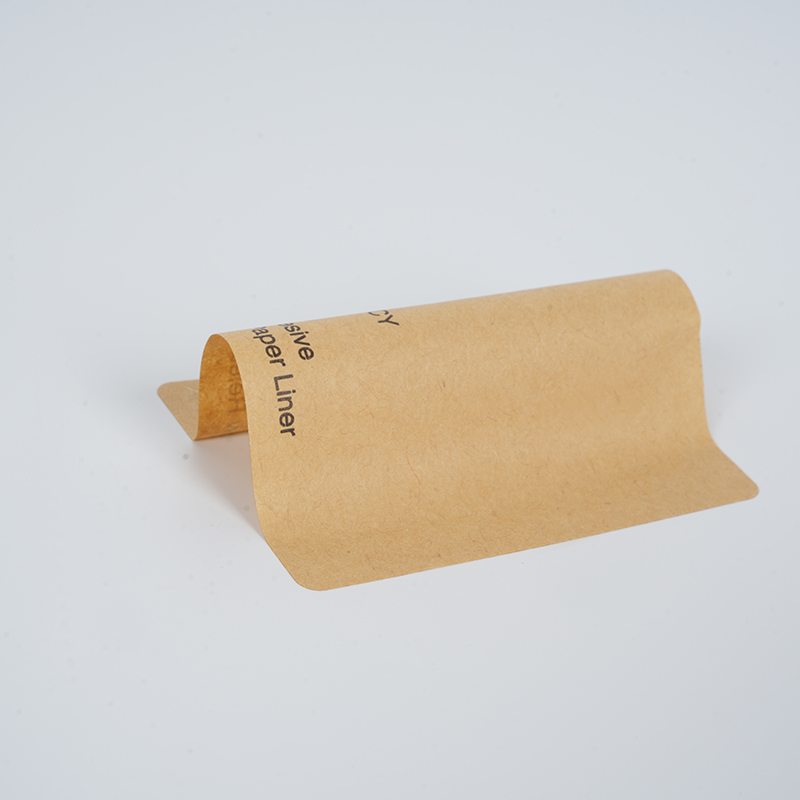
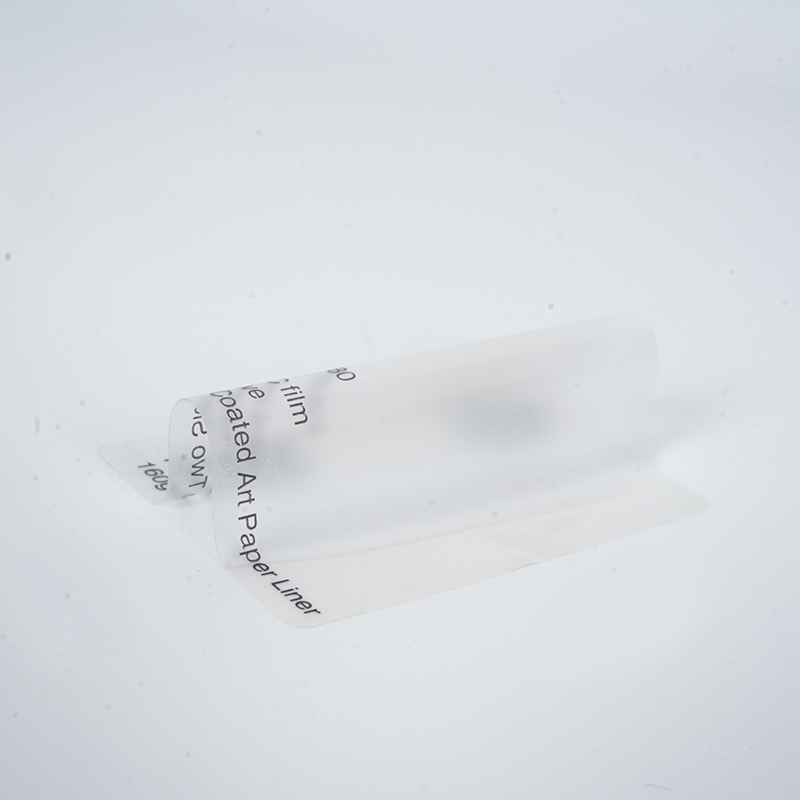
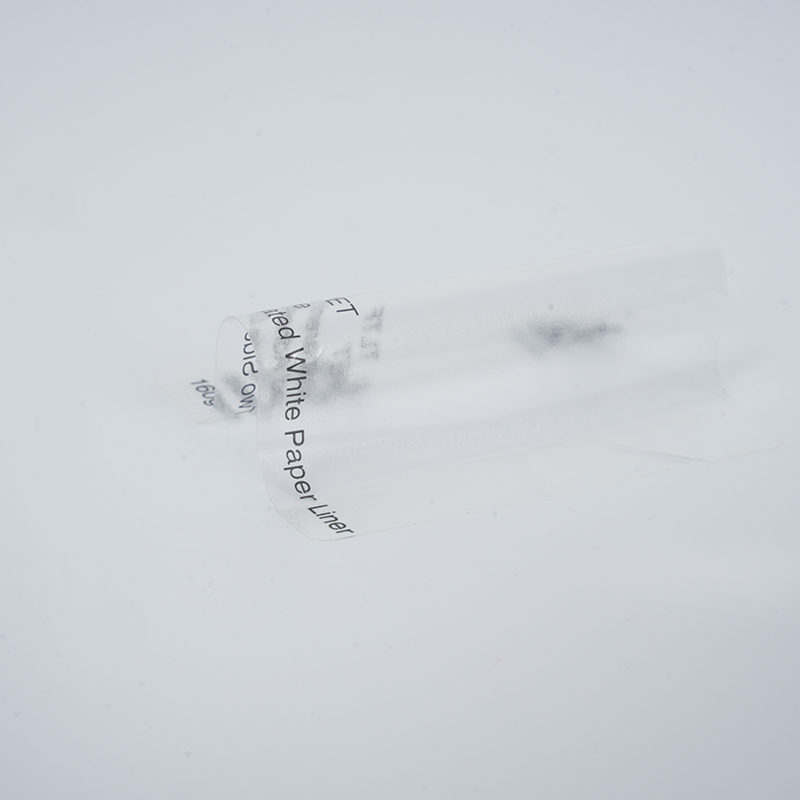
The release liner affects both labeling efficiency and die-cutting accuracy. A PET liner is dimensionally stable and suits high-speed automatic applicators, while a glassine liner can be more economical for manual or semi-automatic work but may tear more easily. Liner weight and release level should be matched to the adhesive so that the label releases cleanly without pulling the adhesive from the face material.
The same clear film can serve very different markets, but the emphasis changes. Cosmetics buyers focus on the look of the label and its resistance to oils and alcohol. Beverage buyers focus on moisture, condensation and cold-chain handling. Industrial buyers focus on chemical contact, abrasion and long outdoor exposure. The sections below outline the most important checks for each.
Clear labels are popular on serums, fragrance bottles and skincare jars because they let the product color show through the package. Essential oils, fragrance compounds and high alcohol content can attack weak adhesives, so compatibility testing with the actual formula is essential. Short-term contact tests rarely reveal everything, so a longer storage trial at elevated temperature gives a more realistic picture.
Bottles that move through chilled distribution often collect condensation. A label that resists moisture and maintains adhesion at low temperature will avoid the most common field complaints. Where the label may contact food-related surfaces, buyers should ask for documentation confirming compliance with the relevant regional food-contact requirements for the film and the adhesive system.
Industrial containers face harsher conditions: solvents, cleaning agents, abrasion and sunlight. Here a more rigid film with UV stabilization and a robust permanent adhesive is usually preferred. Outdoor aging tests, typically run for several months under controlled exposure, help confirm whether the label will keep its clarity and readability over the service life of the container.
A sample test is the cheapest way to avoid a costly failure. The goal is not to prove that the label works in general, but to show that it works on your container, with your product, under the conditions your supply chain will create. A simple protocol can be completed in one to two weeks and gives far more useful information than a datasheet alone.
Record every observation with photographs taken under the same lighting. Subtle haze is easy to miss by eye after a few days but becomes obvious when compared against a dated reference image.
Material performance matters, but a reliable supply chain determines whether a label program can scale. When comparing suppliers of clear PET label materials, look beyond the price per square meter and examine how flexibly each supplier can adapt the specification to your application.
A supplier that offers sample rolls, shares test feedback and proposes alternatives when a first trial fails is worth more than one that simply quotes the lowest price. Ask how quickly they can supply revised samples and whether they can support you through a line trial.
Most avoidable label problems trace back to a few recurring decisions. Recognizing them early can save months of rework and reduce the amount of waste generated during trials.
Each of these mistakes is easy to prevent with a short written specification that lists the container dimensions, product formula, storage conditions, application method and expected service life. Sharing that brief with a supplier at the start of a project gives them the information needed to recommend a suitable construction rather than a generic one.
Not necessarily. A thicker film resists tearing and handling damage better, but it is also stiffer, so it is more likely to lift on tight curves. Durability depends on matching the film gauge, the adhesive and the container geometry, which is why a thinner film is often the better choice for strongly curved bottles.
Clouding usually comes from moisture entering the adhesive layer or the film edges. Choose a permanent acrylic adhesive designed for humid environments, make sure the bottle surface is clean and dry before application, and run a humidity storage test on samples before approving the material.
Clear labels rely on the color of the container and the ink system. Some designs use a white underprint to make colors more vivid on a transparent film, but this reduces the see-through effect. The decision should be made during design review, with samples viewed on the actual bottle under retail lighting.
Provide the container material and dimensions, the curvature of the label area, the product type, the expected storage and shipping conditions, the application method and speed, and the required service life. Including a physical bottle or a drawing lets the supplier recommend an appropriate specification more accurately.
A basic trial covering application, short-term adhesion and room-temperature inspection can be completed within a few days. A fuller evaluation with environmental storage and product contact typically takes one to two weeks. Allow additional time if outdoor exposure testing is required for industrial applications.
+86-18018686956
+86-021-69171221
No.1218, Huiping Road, Nanxiang Town, Jiading District, Shanghai, China
Copyright © Shanghai Baozhongbao Adhesive Products Co., Ltd. All Rights Reserved. Wholesale Self Adhesive Label Sticker Factory